Get started with the M.2 or Mini PCIe Accelerator
To get started with either the Mini PCIe or M.2 Accelerator, all you need to do is connect the card to your system, and then install our PCIe driver, Edge TPU runtime, and the TensorFlow Lite runtime. This page walks you through the setup and shows you how to run an example model.
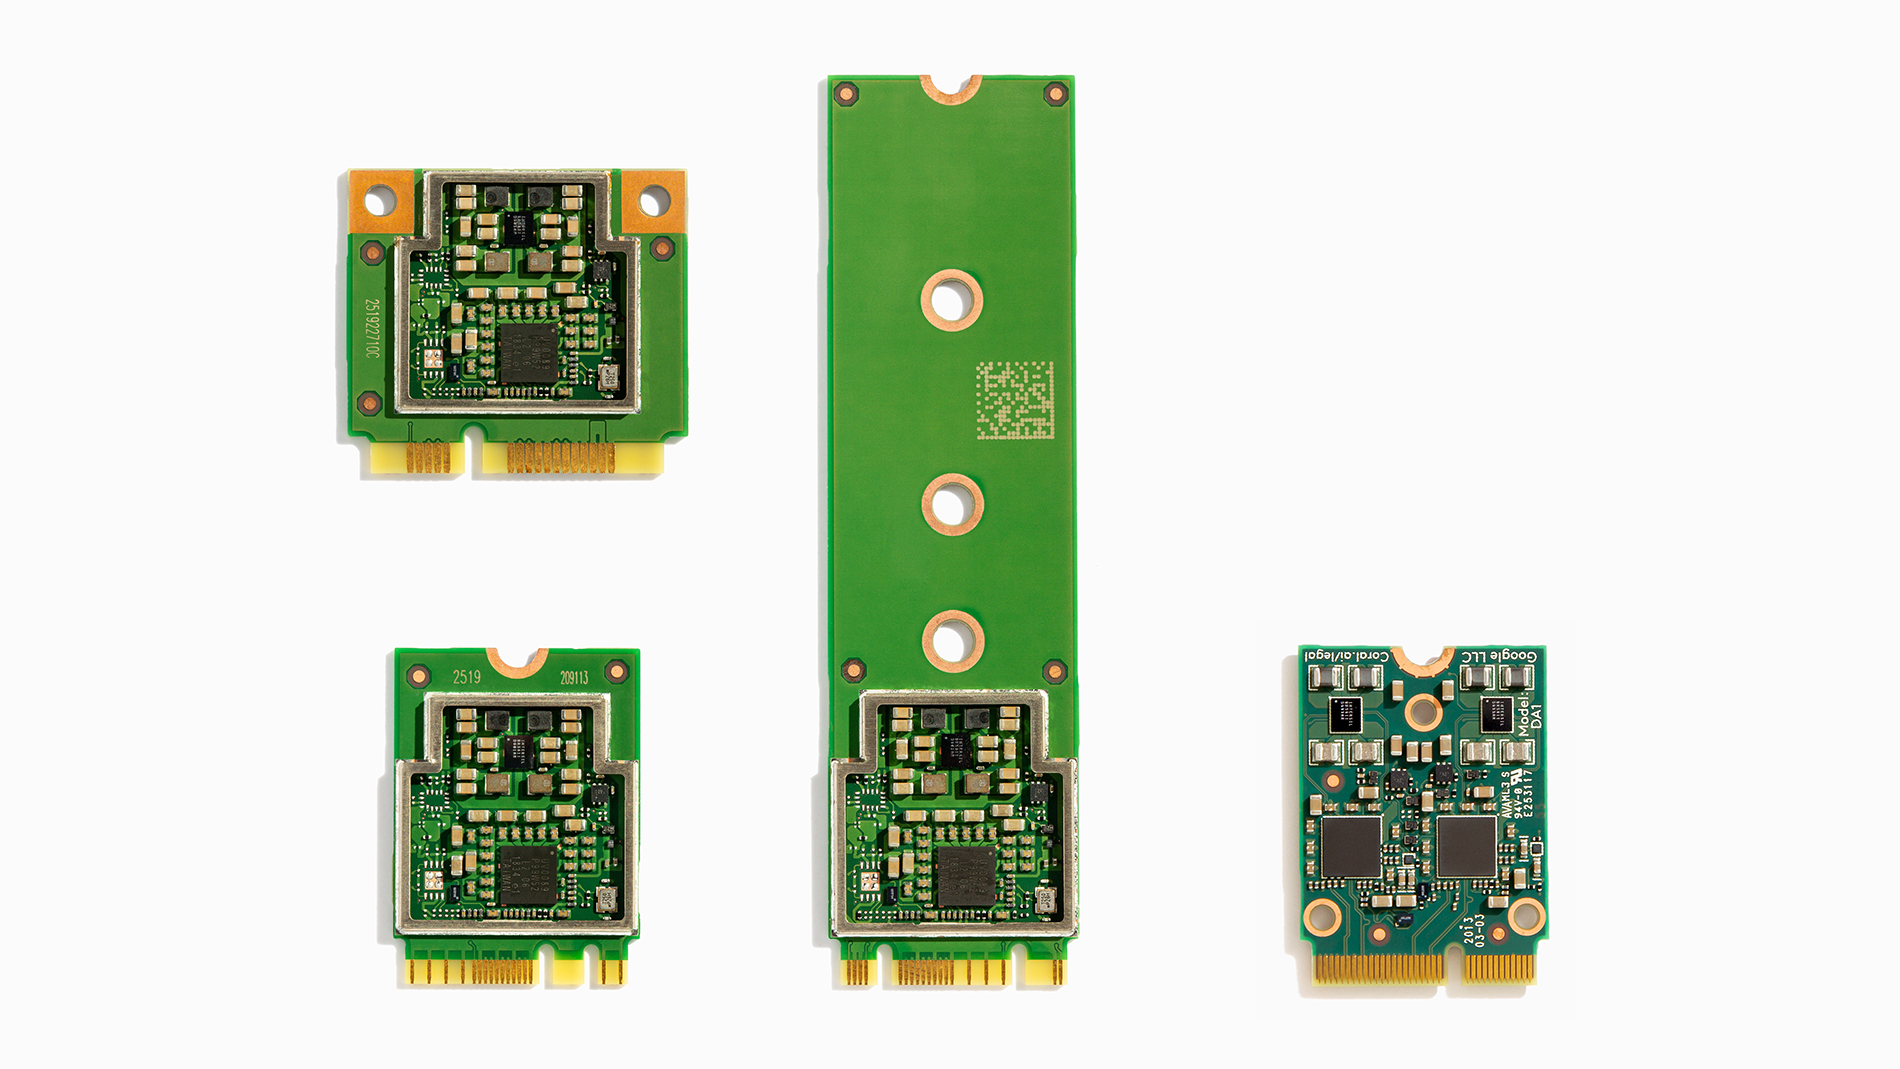
The setup and operation is the same for both Mini PCIe and M.2 form-factors, including the M.2 Accelerator with Dual Edge TPU.
Requirements
- A computer with one of the following operating systems:
- Linux: 64-bit version of Debian 10 or Ubuntu 16.04 (or newer), and an x86-64 or ARMv8 system architecture
- Windows: 64-bit version of Windows 10, and x86-64 system architecture
- All systems require support for MSI-X as defined in the PCI 3.0 specification
- At least one available Mini PCIe or M.2 module slot
- Python 3.6-3.9
1: Connect the module
-
Make sure the host system where you'll connect the module is shut down.
-
Carefully connect the Coral Mini PCIe or M.2 module to the corresponding module slot on the host, according to your host system recommendations.
2: Install the PCIe driver and Edge TPU runtime
Next, you need to install both the Coral PCIe driver and the Edge TPU runtime. You can install these packages on your host computer as follows, either on Linux or on Windows.
The Coral ("Apex") PCIe driver is required to communicate with any Edge TPU device over a PCIe connection, whereas the Edge TPU runtime provides the required programming interface for the Edge TPU.
2a: On Linux
Before you install the PCIe driver on Linux, you first need to check whether you have a pre-built version of the driver installed. (Older versions of the driver have a bug that prevents updates and will result in failure when calling upon the Edge TPU.) So first follow these steps:
-
Check your Linux kernel version with this command:
uname -r
If it prints 4.18 or lower, you should be okay and can skip to begin installing our PCIe driver.
-
If your kernel version is 4.19 or higher, now check if you have a pre-build Apex driver installed:
lsmod | grep apex
If it prints nothing, then you're okay and continue to install our PCIe driver.
If it does print an Apex module name, stop here and follow the workaround to disable Apex and Gasket.
Now install the PCIe driver and runtime as follows:
-
First, add our Debian package repository to your system (be sure you have an internet connection):
echo "deb https://packages.cloud.google.com/apt coral-edgetpu-stable main" | sudo tee /etc/apt/sources.list.d/coral-edgetpu.list


curl https://packages.cloud.google.com/apt/doc/apt-key.gpg | sudo apt-key add -


sudo apt-get update -
Then install the PCIe driver and Edge TPU runtime packages:
sudo apt-get install gasket-dkms libedgetpu1-std
-
If the user account you'll be using does not have root permissions, you might need to also add the following udev rule, and then verify that the "apex" group exists and that your user is added to it:
sudo sh -c "echo 'SUBSYSTEM==\"apex\", MODE=\"0660\", GROUP=\"apex\"' >> /etc/udev/rules.d/65-apex.rules"


sudo groupadd apex


sudo adduser $USER apex -
Now reboot the system.
-
Once rebooted, verify that the accelerator module is detected:
lspci -nn | grep 089a
You should see something like this:
03:00.0 System peripheral: Device 1ac1:089a
The
03number andSystem peripheralname might be different, because those are host-system specific, but as long as you see a device listed with089athen you're okay to proceed. -
Also verify that the PCIe driver is loaded:
ls /dev/apex_0
You should simply see the name repeated back:
/dev/apex_0
Now continue to install PyCoral and TensorFlow Lite.
2b: On Windows
You can install both the PCIe driver and the Edge TPU runtime on Windows using our install script as follows:
-
First, make sure you have the latest version of the Microsoft Visual C++ 2019 redistributable.
-
Extract the ZIP files and double-click the
install.batfile inside.A console opens to run the install script. When it asks whether you want to enable the maximum operating frequency, you can answer either "yes" or "no" and it has no effect, because this setting only affects devices that operate over USB. Because this device instead operates over PCIe, it uses the maximum operating frequency by default, and may perform power throttling based on the Edge TPU temperature, as specified by PCIe driver parameters.
That's it. Now install PyCoral and TensorFlow Lite...
3: Install the PyCoral library
PyCoral is a Python library built on top of the TensorFlow Lite library to speed up your development and provide extra functionality for the Edge TPU.
We recommend you start with the PyCoral API, and we use this API in our example code below, because it simplifies the amount of code you must write to run an inference. But you can build your own projects using TensorFlow Lite directly, in either Python or C++.
To install the PyCoral library, use the following commands based on your system.
3a: On Linux
If you're using Debian-based Linux system, install PyCoral (and TensorFlow Lite) as follows:
sudo apt-get install python3-pycoral3b: On Windows
If you're using Windows, install PyCoral (and TensorFlow Lite) as follows:
python3 -m pip install --extra-index-url https://google-coral.github.io/py-repo/ pycoral~=2.0python3 as shown here
(and elsewhere in our docs), you can use the py
launcher. Just be sure you use Python 3.5 or newer.
Alternatively, you can download a specific PyCoral wheel file
and pass it to pip install.
4: Run a model on the Edge TPU
Now you're ready to run an inference on the Edge TPU.
Follow these steps to perform image classification with our example code and MobileNet v2:
-
Download the example code from GitHub:
mkdir coral && cd coral git clone https://github.com/google-coral/pycoral.git cd pycoral -
Download the model, labels, and bird photo:
bash examples/install_requirements.sh classify_image.py -
Run the image classifier with the bird photo (shown in figure 1):
python3 examples/classify_image.py \
--model test_data/mobilenet_v2_1.0_224_inat_bird_quant_edgetpu.tflite \
--labels test_data/inat_bird_labels.txt \
--input test_data/parrot.jpg

You should see results like this:
INFO: Initialized TensorFlow Lite runtime.
----INFERENCE TIME----
Note: The first inference on Edge TPU is slow because it includes loading the model into Edge TPU memory.
11.8ms
3.0ms
2.8ms
2.9ms
2.9ms
-------RESULTS--------
Ara macao (Scarlet Macaw): 0.75781
Congrats! You just performed an inference on the Edge TPU using TensorFlow Lite.
To demonstrate varying inference speeds, the example repeats the same inference five times. Your inference speeds might differ based on your host system.
The top classification label is printed with the confidence score, from 0 to 1.0.
To learn more about how the code works, take a look at the classify_image.py source code
and read about how to run inference with TensorFlow Lite.
Next steps
To run some other models, such as real-time object detection, pose estimation, keyphrase detection, on-device transfer learning, and others, check out our example projects. In particular, if you want to try running a model with camera input, try one of the several camera examples.
If you want to train your own model, try these tutorials:
- Retrain an image classification model using post-training quantization (runs in Google Colab)
- Retrain an image classification model using quantization-aware training (runs in Docker)
- Retrain an object detection model using quantization-aware training (runs in Docker)
Or to create your own model that's compatible with the Edge TPU, read TensorFlow Models on the Edge TPU.
The following section describes how the power throttling works and how to customize the trip points.
Troubleshooting on Linux
Here are some solutions to possible problems on Linux.
HIB error
If you are running on ARM64 platform and receive error messages such as the following when you run an inference...
HIB Error. hib_error_status = 0000000000002200, hib_first_error_status = 0000000000000200... You should be able to solve it if you modify your kernel command line arguments to include
gasket.dma_bit_mask=32.
For information about how to modify your kernel command line arguments, refer to your respective
platform documentation. For bootloaders based on U-Boot, you can usually modify the arguments either
by modifying the bootargs U-Boot environment variable or by setting othbootargs environment
variable as follows:
=> setenv othbootargs gasket.dma_bit_mask=32
=> printenv othbootargs
othbootargs=gasket.dma_bit_mask=32
=> saveenv
If you make the above change and then receive errors such as, DMA: Out of SW-IOMMU space, then
you need to increase the swiotlb buffer size by adding another kernel command line argument:
swiotlb=65536.
pcieport error
If you see a lot of errors such as the following:
pcieport 0000:00:01.0: PCIe Bus Error: severity=Corrected, type=Data Link Layer, id=0008(Transmitter ID)
pcieport 0000:00:01.0: device [10de:0fae] error status/mask=00003100/00002000
pcieport 0000:00:01.0: [ 8] RELAY_NUM Rollover
pcieport 0000:00:01.0: [12] Replay Timer Timeout
pcieport 0000:00:01.0: PCIe Bus Error: severity=Uncorrected (Non-Fatal), type=Transaction Layer, id=0008(Requester ID)
pcieport 0000:00:01.0: device [10de:0fae] error status/mask=00004000/00000000
... You should be able to solve it if you modify your kernel command line arguments to include
pcie_aspm=off.
For information about how to modify your kernel command line arguments, refer to your respective
platform documentation. If your device includes U-Boot, see the previous HIB error
for an example of how to modify the kernel commands. For certain other devices, you might instead
add pcie_aspm=off to an APPEND line in your system /boot/extlinux/extlinux.conf file:
LABEL primary
      MENU LABEL primary kernel
      LINUX /boot/Image
      INITRD /boot/initrd
      APPEND ${cbootargs} quiet pcie_aspm=off
Workaround to disable Apex and Gasket
The following procedure is necessary only if your system includes a pre-build driver for Apex
devices (as per the first steps for installing the PCIe driver).
Due to a bug, updating this driver with ours can fail, so you need to first disable the apex
and gasket modules as follows:
-
Create a new file at
/etc/modprobe.d/blacklist-apex.confand add these two lines:blacklist gasket blacklist apex
-
Reboot the system.
-
Verify that the
apexandgasketmodules did not load by running this:lsmod | grep apex
It should print nothing.
-
Now follow the rest of the steps to install the PCIe driver.
-
Finally, delete
/etc/modprobe.d/blacklist-apex.confand reboot your system.
Is this content helpful?