Get started with the USB Accelerator
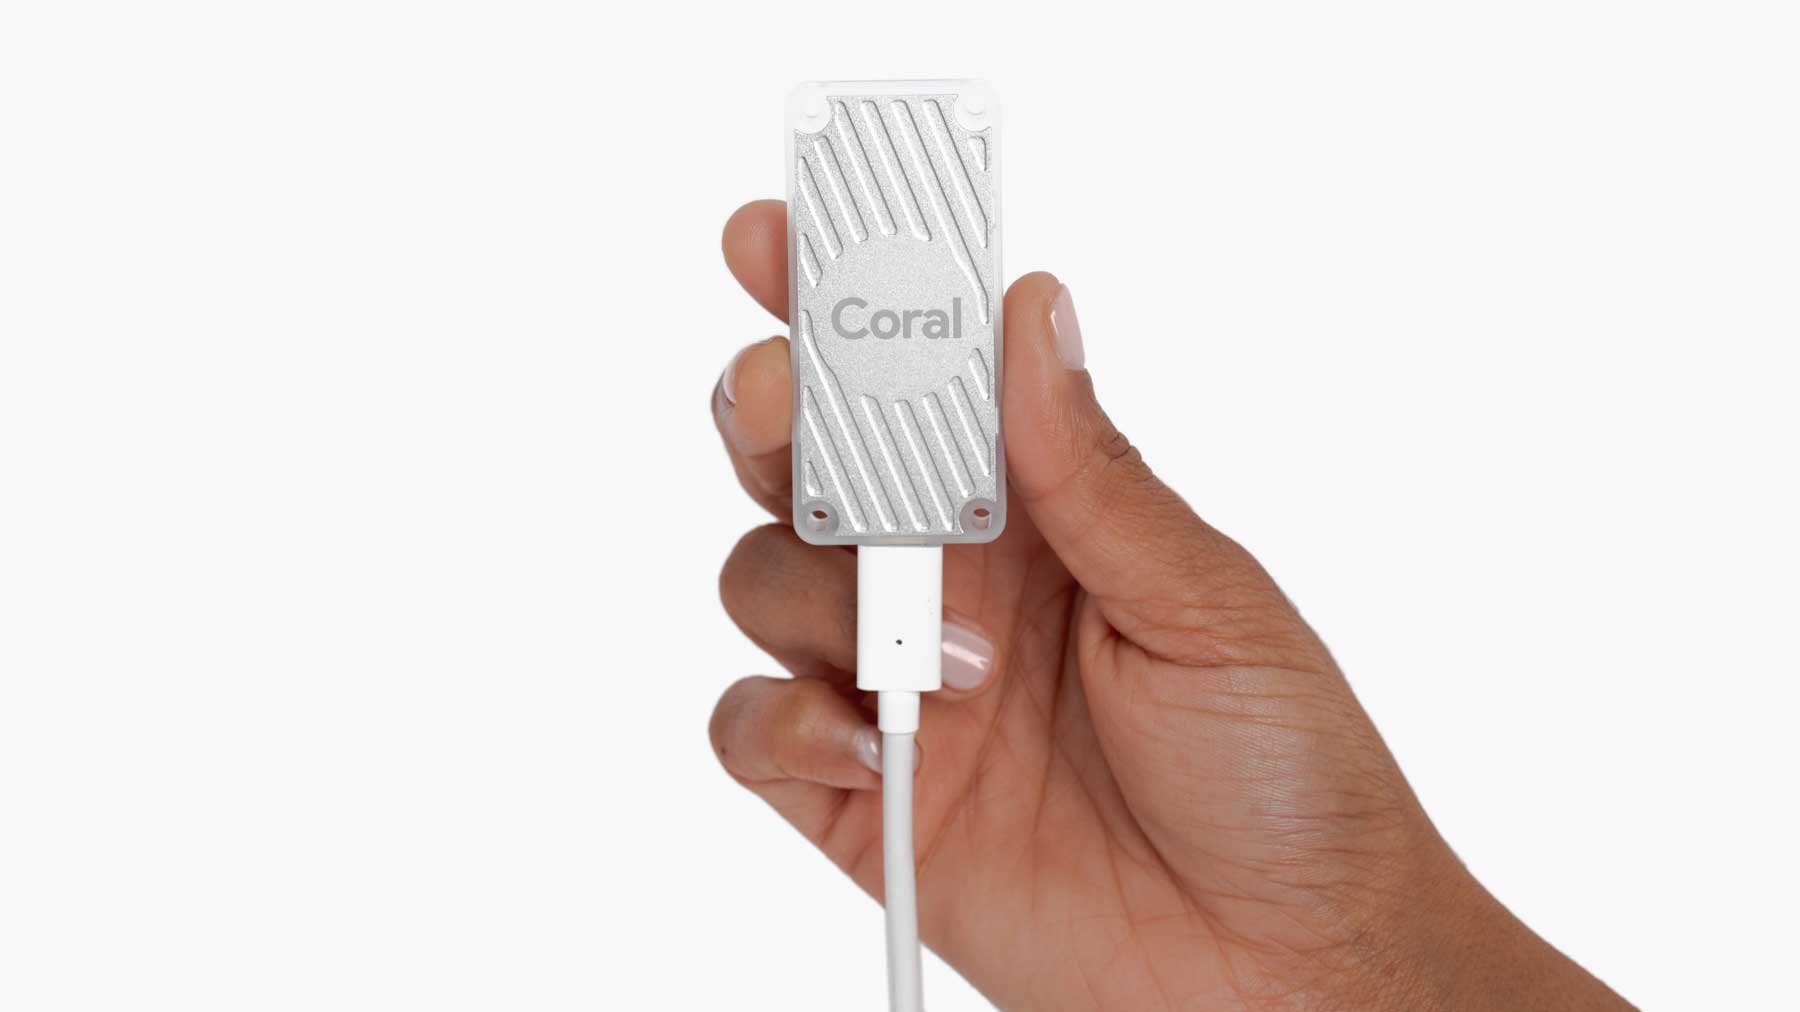
The Coral USB Accelerator adds a Coral Edge TPU to your Linux, Mac, or Windows computer so you can accelerate your machine learning models. This page is your guide to get started.
All you need to do is download the Edge TPU runtime and PyCoral library. Then we'll show you how to run a TensorFlow Lite model on the Edge TPU.
To learn more about the hardware, see the USB Accelerator datasheet.
Requirements
- A computer with one of the following operating systems:
- Linux Debian 10, or a derivative thereof (such as Ubuntu 18.04), and a system architecture of either x86-64, Armv7 (32-bit), or Armv8 (64-bit) (includes support for Raspberry Pi 3 Model B+, Raspberry Pi 4, and Raspberry Pi Zero 2)
- macOS 10.15 (Catalina) or 11 (Big Sur), with either MacPorts or Homebrew installed
- Windows 10
- One available USB port (for the best performance, use a USB 3.0 port)
- Python 3.6 - 3.9
1: Install the Edge TPU runtime
The Edge TPU runtime provides the core programming interface for the Edge TPU. You can install it on your host computer as follows, on Linux, on Mac, or on Windows.
1a: On Linux
-
Add our Debian package repository to your system:
echo "deb https://packages.cloud.google.com/apt coral-edgetpu-stable main" | sudo tee /etc/apt/sources.list.d/coral-edgetpu.list curl https://packages.cloud.google.com/apt/doc/apt-key.gpg | sudo apt-key add - sudo apt-get update -
Install the Edge TPU runtime:
sudo apt-get install libedgetpu1-std -
Now connect the USB Accelerator to your computer using the provided USB 3.0 cable. If you already plugged it in, remove it and replug it so the newly-installed
udevrule can take effect.
Then continue to install the PyCoral library.
Install with maximum operating frequency (optional)
The above command installs the standard Edge TPU runtime for Linux, which operates the device at a reduced clock frequency. You can instead install a runtime version that operates at the maximum clock frequency. This increases the inferencing speed but also increases power consumption and causes the USB Accelerator to become very hot.
If you're not certain your application requires increased performance, you should use the reduced operating frequency. Otherwise, you can install the maximum frequency runtime as follows:
sudo apt-get install libedgetpu1-maxYou cannot have both versions of the runtime installed at the same time, but you can switch by simply installing the alternate runtime as shown above.
1b: On Mac
-
Download and unpack the Edge TPU runtime:
curl -LO https://github.com/google-coral/libedgetpu/releases/download/release-grouper/edgetpu_runtime_20221024.zip


unzip edgetpu_runtime_20221024.zip -
Install the Edge TPU runtime:
cd edgetpu_runtime


sudo bash install.sh
The installation script will ask whether you want to enable the maximum operating frequency. Running at the maximum operating frequency increases the inferencing speed but also increases power consumption and causes the USB Accelerator to become very hot. If you're not certain your application requires increased performance, you should type "N" to use the reduced operating frequency. You can change this later by re-running this script.
You can read more about the performance setting in section 4.1 of the USB Accelerator datasheet.
-
Now connect the USB Accelerator to your computer using the provided USB 3.0 cable.
Then continue to install the PyCoral library.
1c: On Windows
-
First, make sure you have the latest version of the Microsoft Visual C++ 2019 redistributable.
-
Extract the ZIP files and double-click the
install.batfile inside.A console opens to run the install script and it asks whether you want to enable the maximum operating frequency. Running at the maximum operating frequency increases the inferencing speed but also increases power consumption and causes the USB Accelerator to become very hot. If you're not certain your application requires increased performance, you should type "N" to use the reduced operating frequency. You can change this later by re-running this script.
You can read more about the performance setting in section 4.1 of the USB Accelerator datasheet.
-
Now connect the USB Accelerator to your computer using the provided USB 3.0 cable.
2: Install the PyCoral library
PyCoral is a Python library built on top of the TensorFlow Lite library to speed up your development and provide extra functionality for the Edge TPU.
We recommend you start with the PyCoral API, and we use this API in our example code below, because it simplifies the amount of code you must write to run an inference. But you can build your own projects using TensorFlow Lite directly, in either Python or C++.
To install the PyCoral library (and its dependencies), use the following commands based on your system.
2a: On Linux
If you're using Debian-based Linux system (including a Raspberry Pi), install PyCoral as follows:
sudo apt-get install python3-pycoral2b: On Mac and Windows
If you're using Mac or Windows, install PyCoral as follows:
python3 -m pip install --extra-index-url https://google-coral.github.io/py-repo/ pycoral~=2.0python3 as shown here
(and elsewhere in our docs), you can use the py
launcher. Just be sure you use Python 3.6 or newer.
Alternatively, you can download a specific PyCoral wheel file
and pass it to pip install.
3: Run a model on the Edge TPU
Now you're ready to run an inference on the Edge TPU.
Follow these steps to perform image classification with our example code and MobileNet v2:
-
Download the example code from GitHub:
mkdir coral && cd coral git clone https://github.com/google-coral/pycoral.git cd pycoral -
Download the model, labels, and bird photo:
bash examples/install_requirements.sh classify_image.py -
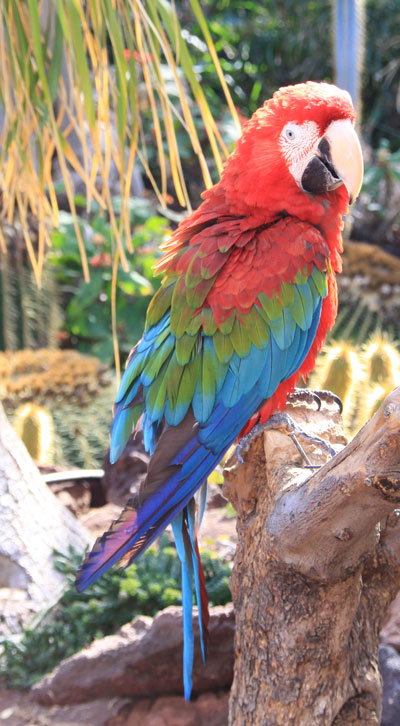
Run the image classifier with the bird photo (shown in figure 1):
python3 examples/classify_image.py \
--model test_data/mobilenet_v2_1.0_224_inat_bird_quant_edgetpu.tflite \
--labels test_data/inat_bird_labels.txt \
--input test_data/parrot.jpg
You should see results like this:
----INFERENCE TIME----
Note: The first inference on Edge TPU is slow because it includes loading the model into Edge TPU memory.
11.8ms
3.0ms
2.8ms
2.9ms
2.9ms
-------RESULTS--------
Ara macao (Scarlet Macaw): 0.75781
Congrats! You just performed an inference on the Edge TPU using TensorFlow Lite.
To demonstrate varying inference speeds, the example repeats the same inference five times. Your inference speeds might differ based on your host system and whether you're using USB 2.0 or 3.0.
The top classification label is printed with the confidence score, from 0 to 1.0.
To learn more about how the code works, take a look at the classify_image.py source code
and read about how to run inference with TensorFlow Lite.
Next steps
To run some other models, such as real-time object detection, pose estimation, keyphrase detection, on-device transfer learning, and others, check out our example projects. In particular, if you want to try running a model with camera input (including support for the Raspberry Pi camera), try one of the several camera examples.
If you want to train your own model, try these tutorials:
- Retrain an image classification model using post-training quantization (runs in Google Colab)
- Retrain an image classification model using quantization-aware training (runs in Docker)
- Retrain an object detection model using quantization-aware training (runs in Docker)
Or to create your own model that's compatible with the Edge TPU, read TensorFlow Models on the Edge TPU.
Is this content helpful?